CS285
Assignment 6b
Robert Hillaire
Aaron Isaksen
Step One: Start with a Flat printout of each shape
|
|
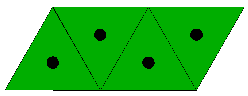
Tetrahedral Unfolded
|
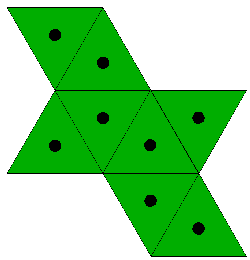
Octahedral Unfolded
|
|
|
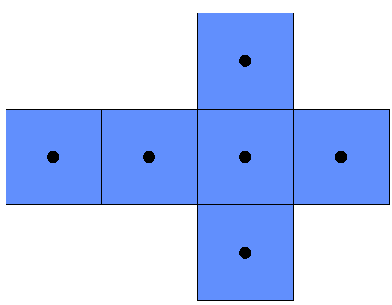
Cube Unfolded
|
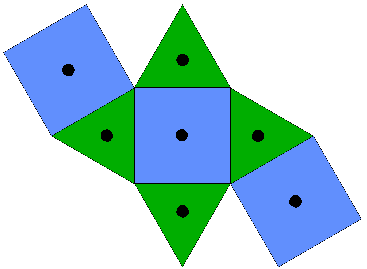
Cubehedral Unfolded
|
Step Two: Paste printouts onto Poster Board
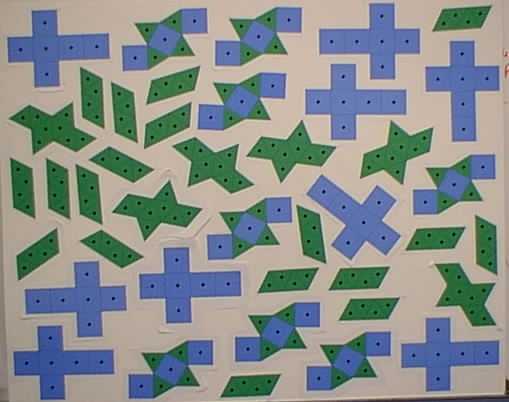
Pasted Poster Board
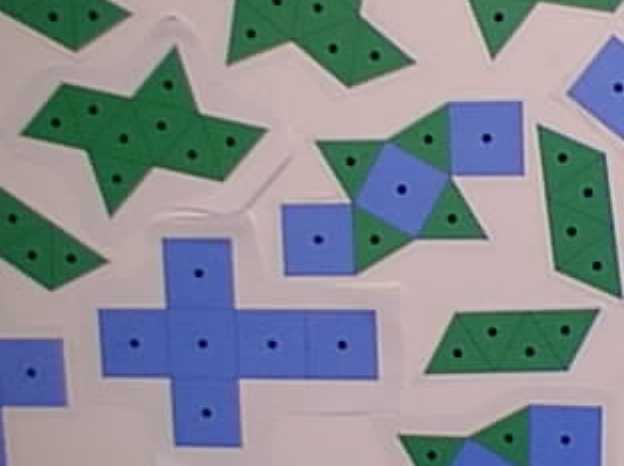
Closeup of Pasted Poster Board
Step Three: Assembly

(still in digital camera in lab)
Cut out shapes, "Hot Glue" final shapes, and Drill holes.
These polyhedra could be fabricated in the same way we did (create folded out polyhedra, fold them up, connect the edges) . A malleable plastic could be formed in a mold to create flat sheets of plastic in the shape of unfolded polyhedra. The holes could be placed in each face at this time. Then, these plastic pieces could be folded by a machine (the creases are molded in) and could have a snap edge, the edges could be melted together by machine, or glue could be used.
Or, perhaps the polyhedra could be cut on a series of jigs and saws (since they are convex shapes). Then, the holes could be milled in to a depth that fits half a peg. The original stock could be plastic or wood.
Note: Do not give these toys to children under 3. They could eat the pegs and choke.
Now, if we wanted to make these polyhedra with SLA or SLS, one could do snap fit polyhedra using a design like on the "early ideas" web page. The red dots could represent pins, and the blue dots could represent holes. Unfortunately, these could not be fabricated on a injection mold, since the pegs are not perpendicular to the molding plane.
Back to Beggining
Back to Robert's CS285 Home
Page
Back to Aarons's CS285 Home
Page
Mail to Robert Hillaire